Last updated: August 20, 2026
Some links on this page are affiliate links. If you buy through them we may earn a commission at no extra cost to you. See our affiliate disclosure.
Installing a grab bar is a straightforward job that goes wrong in two predictable places: the bar ends up where the framing was rather than where the hand needs it, and water finds its way behind the tile through an unsealed screw hole. Neither is hard to avoid, but both are hard to fix afterwards.
This walkthrough covers the whole job in order, from marking the position through drilling tile, landing screws in framing or anchors, and sealing the flanges. It assumes a screw mounted bar on a tiled or drywall wall, which covers the large majority of home installations.
Quick Answer
How do you install a grab bar?
- Mark the position from the movement first, then find the framing behind the wall with a stud finder and confirm it with a small probe hole.
- Drill tile with a carbide or diamond tipped bit at low speed with the hammer function switched off.
- Land the screws in solid framing, in added blocking, or in heavy duty anchors made specifically for grab bars.
- Seal around every flange with silicone before final tightening, so no water can travel into the wall.
Bottom line: placement and framing decide the job, and everything else is careful drilling and sealing.
Before You Pick Up a Drill
Two things need settling first. Where the bar goes, decided by watching the actual movement rather than by looking at the wall, and what is behind that spot. Doing them in that order is what keeps the bar useful, because a bar placed to suit the studs is a bar nobody reaches for.
Mark the intended position with painter’s tape while the person stands or sits in place and reaches naturally. That tape mark is your target, and the rest of the job is about reaching it, either with framing or with anchors. Our guide to where to place grab bars covers the positions zone by zone.
Check What Is Inside the Wall
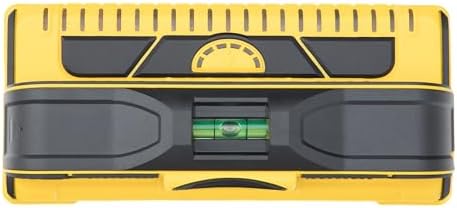
Bathroom walls carry more than framing. Water supply lines, drain stacks, and electrical runs all live in them, and a wall behind a shower valve or beneath a light switch deserves extra caution. A stud finder with a live wire and metal detection mode is worth the small cost here.
What You Need
The tool list is short, and two items are worth not improvising on: the right drill bit for tile and the right fixings for your wall. Everything else you probably own already.
| Item | Why it matters |
|---|---|
| Stud finder | Locates framing; a metal and live wire mode adds a useful safety check |
| Carbide or diamond bit | Drills glazed tile without cracking it; a masonry bit alone will skate and chip |
| Drill with hammer off | Hammer action cracks tile; use rotation only through the glaze |
| Level | A bar out of level looks wrong and can twist the flanges as you tighten |
| Stainless screws or anchors | Use what the bar maker supplies or specifies; wet areas need corrosion resistance |
| Silicone sealant | Seals each flange so water cannot reach the wall cavity |
If your framing does not line up with the tape mark, buy heavy duty anchors made for grab bars rather than compromising on position. They spread the load behind the drywall and carry a published rating.
Step by Step
Work through these in order and the job usually takes under an hour per bar. Read the instructions that came with your specific bar as well, since flange patterns and screw specifications differ between models.
1. Mark and Level
Hold the bar against the tape mark, check it with a level, and mark each screw hole through the flange with a pencil or a fine marker. If the bar is angled, mark the intended angle first and level from that reference, since an angled bar still needs to be consistent rather than random.
2. Locate and Confirm the Framing
Run the stud finder across the marked area and mark the edges of each stud, then find the center. Confirm with a small probe hole in a spot that will end up hidden by the flange, or drill a pilot hole and feel for solid resistance. Framing is commonly 16 inches on center, sometimes 24, but never assume without checking.
3. Drill Through the Tile
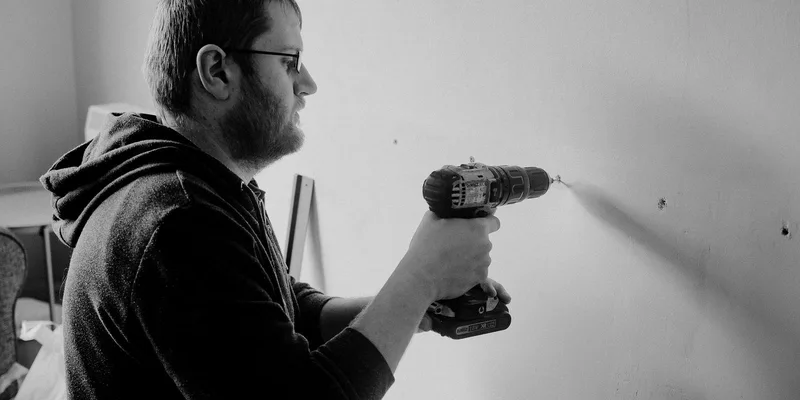
Put a piece of masking tape over the mark to stop the bit wandering, switch the hammer function off, and start at low speed with light pressure. Keep the bit cool with a little water on a sponge. Once through the glaze, change to the correct bit for whatever is behind: wood, cement board, or drywall.
4. Fit the Fixings
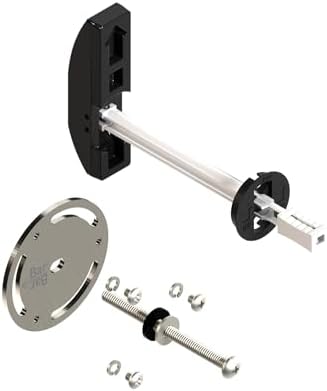
Into framing, use the screws supplied with the bar or the stainless lag screws it specifies, and make sure they penetrate the stud deeply enough per the instructions. Into anchors, follow the anchor maker’s method exactly, since the rating depends on correct installation rather than on force.
5. Seal and Tighten
Run a bead of silicone around the back edge of each flange and into each hole before the final tightening, then set the bar and tighten evenly. Wipe the squeeze out immediately. Snug is right; overtightening crushes the flange gasket and, on a fiberglass surround, cracks the shell.
6. Test Before Anyone Relies On It
Once the sealant has cured per the sealant instructions, pull firmly on the bar in several directions and look for any movement, flex, or gap at the flange. If anything moves, take it down and find out why. A bar that flexes is worse than no bar, because someone will trust it.
Special Cases Worth Knowing About
Three wall types change the method enough to be worth a mention. A one piece fiberglass or acrylic surround flexes and often has an air gap behind it, which needs its own approach covered in our guide to grab bars for fiberglass showers.
Plaster and lath crumbles around fixings and rarely holds anchors well on its own, so finding framing matters more there. Masonry and concrete need a masonry bit and sleeve anchors rated for the load, which is a different shopping list from a stud wall.
When There Is No Stud Where You Need One
This is common rather than unusual, and it does not mean moving the bar. Purpose built hollow wall anchors and added blocking both solve it properly. Our walkthrough of installing grab bars without studs covers both routes in detail.
When to Call Someone In
Doing it yourself is reasonable for a standard bar on a stud wall. Calling a handyman or contractor is reasonable when the wall is fiberglass, masonry, plaster, or when you cannot confidently locate framing, and it is the sensible choice if there is any doubt about pipes or wiring in the wall.
There is also a separate question, which is whether this bar in this position is the right support at all. If you are unsure what fits your situation, ask your doctor or an occupational therapist, who can assess the movement before the holes are drilled rather than after.
Frequently Asked Questions
Do grab bars have to be screwed into studs? Studs are the standard method and the simplest. Where framing is not in the right place, heavy duty hollow wall anchors made for grab bars, or blocking added behind the wall, are the accepted alternatives, following the manufacturer’s instructions for the rating.
What drill bit do I use for shower tile? A carbide tipped tile bit or a diamond tipped bit, run at low speed with the hammer function switched off and a little water to keep the tip cool. A standard masonry bit on hammer will chip or crack the glaze.
How deep should the screws go into the stud? Follow the depth stated in the instructions for your specific bar, since it varies with the screw type supplied. The key point is that the screw must reach well into solid framing rather than just through the tile and drywall.
Do I need to seal around a grab bar flange? Yes, in any wet area. Every screw hole is a break in the waterproof layer, and a bead of silicone around and behind the flange keeps water out of the wall cavity.
How long does it take to install a grab bar? Usually under an hour per bar for a standard installation on a stud wall, plus the sealant curing time before the bar is used.
Can I install a grab bar myself? Many people do, with a stud finder, the right bit, and care around pipes and wiring. Fiberglass surrounds, plaster, masonry, and any uncertainty about what is inside the wall are good reasons to bring in a professional.
How do I test a grab bar after installing it? Once the sealant has cured, pull hard in several directions and watch the flange for any gap or movement. Any flex means it comes down and gets re done.
What if I drill and hit nothing solid? Stop, plug the hole, and switch to a heavy duty anchor rated for grab bars or add blocking. Do not fit the bar with a screw that is only holding drywall.
The Bottom Line
A good grab bar installation is decided before the drill comes out: mark the position from the movement, confirm what is behind the wall, and buy the right fixings for what you find. Drill tile slowly with the hammer off, seal every flange, and test the bar hard before anyone leans on it. If you have not chosen a bar yet, our grab bar buying guide covers the types, and where to place grab bars covers the positions.